7 Way Trailer Plug
Wiring Made Easy
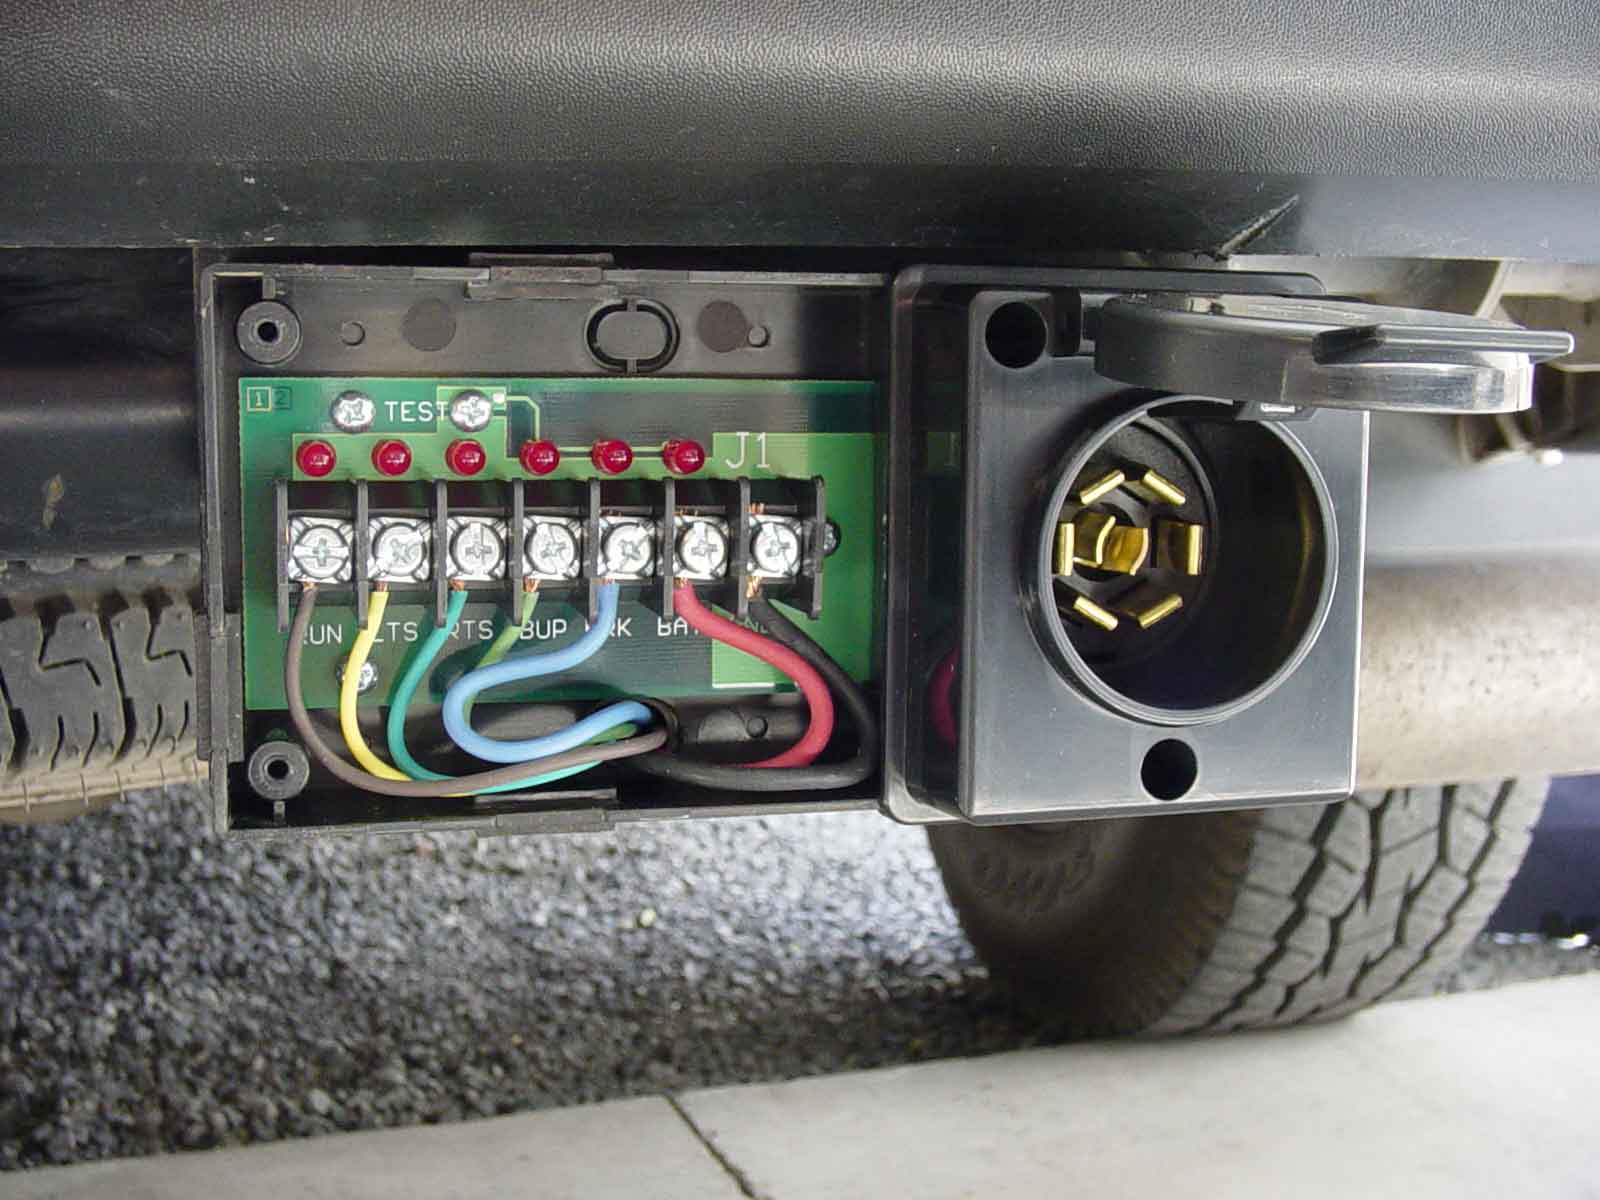
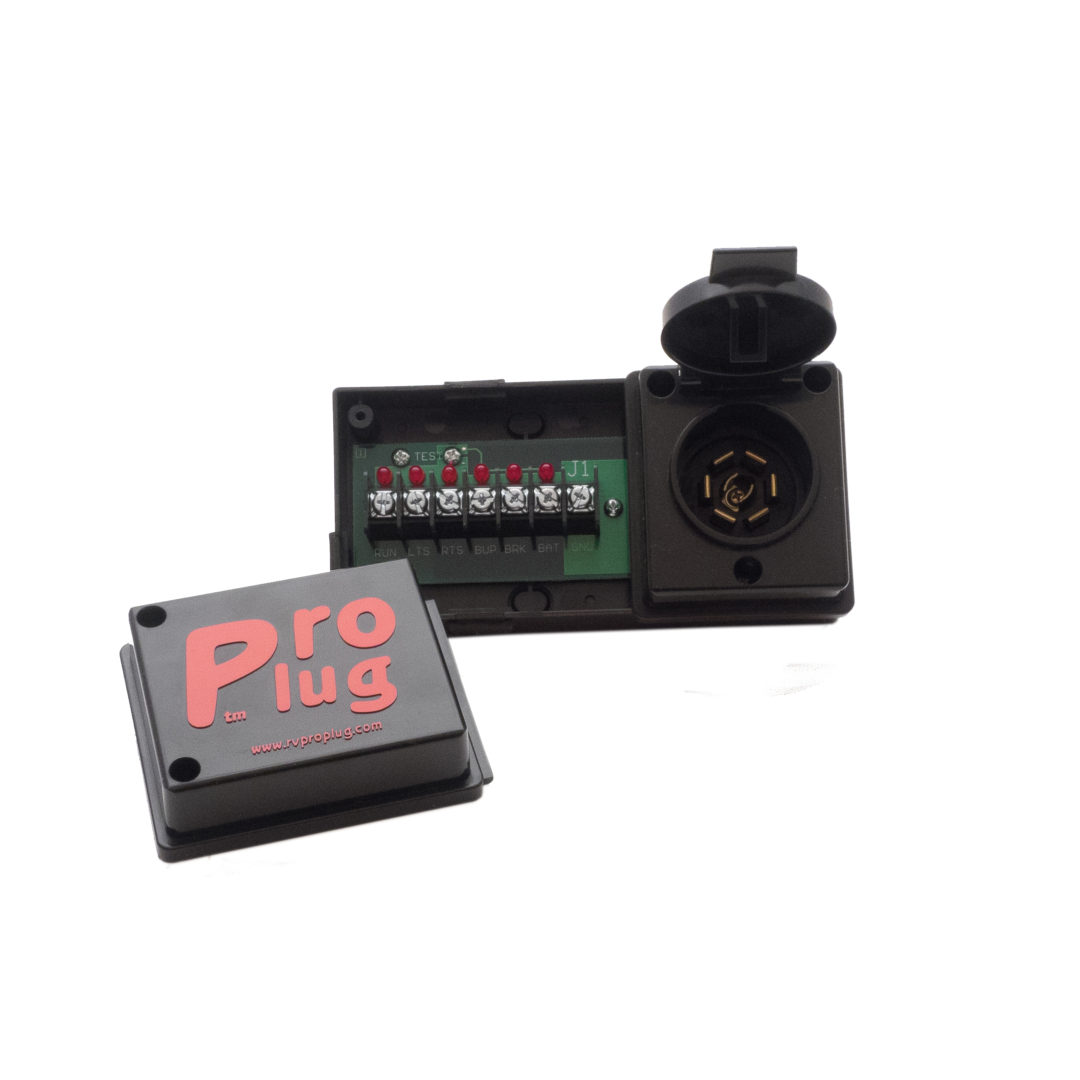
Pro Plug trailer connector is a 7 way trailer plug wiring replacement connector.
A 7 way trailer connector that is surface mountable, easy wiring and self-testing.
Our Advantage
Pro Plug trailer connector, an easy to wire, easy to install, self-testing, surface mount 7 way trailer plug wiring solution that makes it possible to install a trailer connection where it couldn’t before. The mounting requirements for the towing vehicle plug have changed very little over time, not keeping up with new applications. Currently, either drill a big hole in the vehicle for the plug to mount into or hang it from a bracket that has the big hole in it, often placing the plug in a vulnerable location. Both of these options require considerable depth behind the mounting plane for the connector housing to protrude and for the routing of the wiring into the connector housing.